Model Train Forum banner

My results so far

3.9K views 24 replies 9 participants last post by  MrStucky  
#1 ·
Hi Everyone.
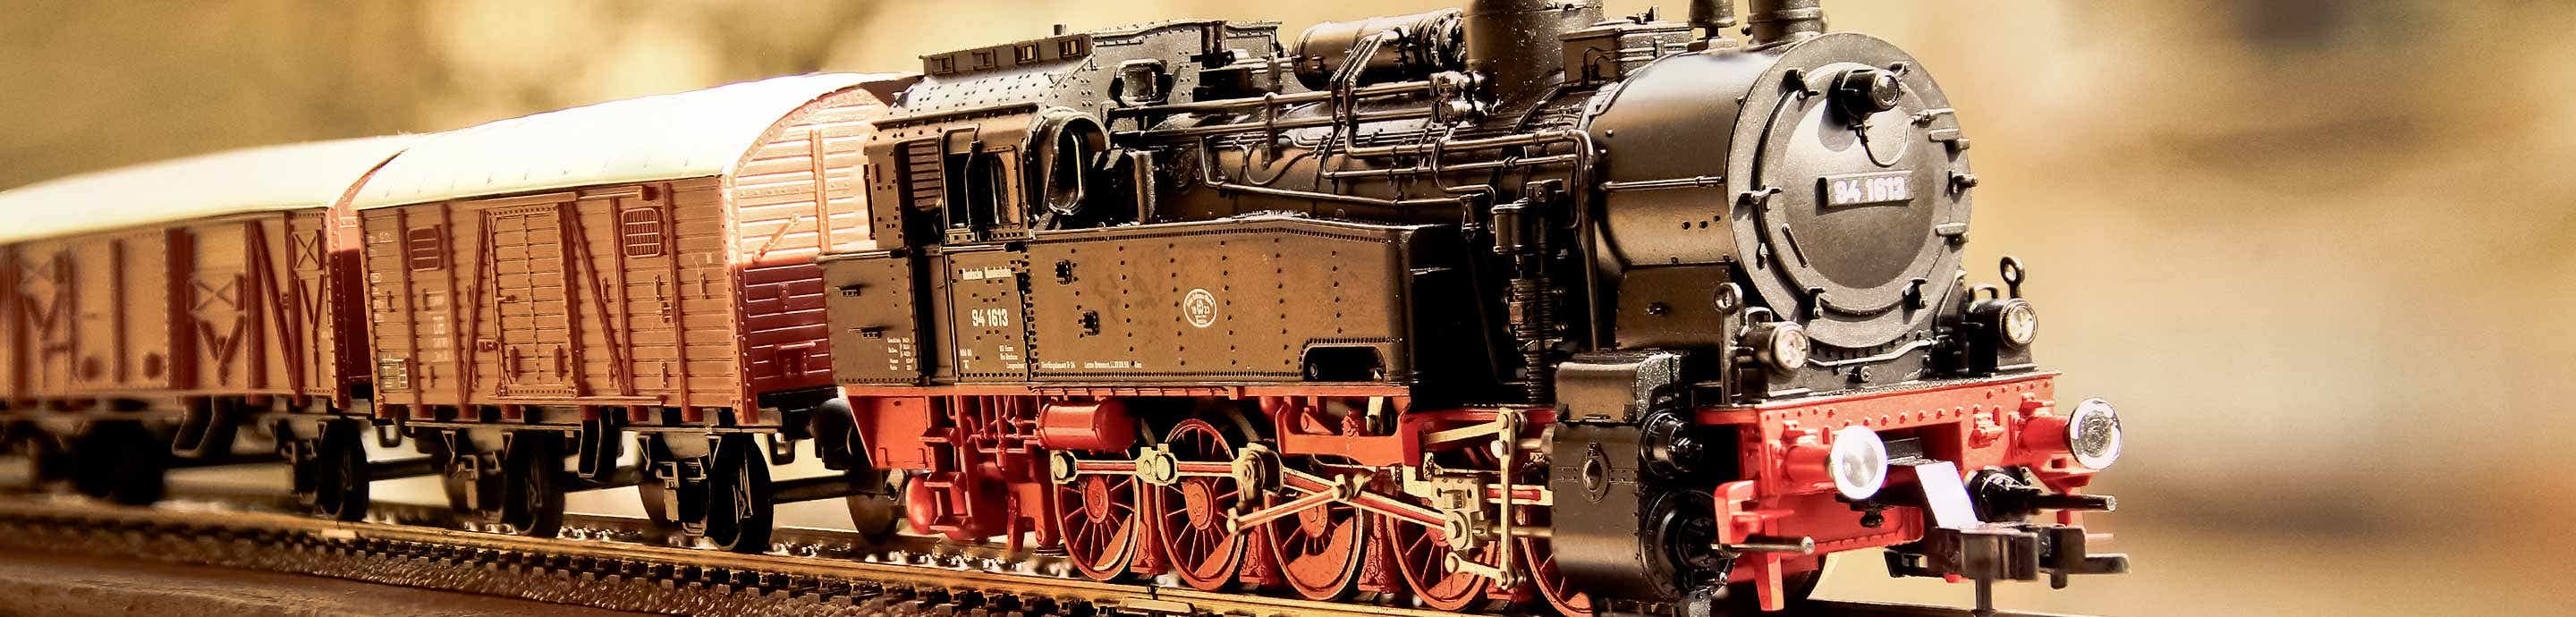
I was working with the Scarm software last weekend designing my HO scale 4x8 layout, & these 2 layouts are the ones I like or haven't changed drastically. I'm trying to stay simple in my plans yet I want to create something cool. I hope to get to the hobby shop this weekend & buy everything I need, like track, roadbed, turnouts etc as my teacher brother will just get busier with school & family, so I don't wanna bug him all the time. One of the items I put on my shopping list was buying a new power supply, to avoid any issues with the "old" one I'm using at the moment. My birthday is next month followed by Christmas, & I'm sure I'll get train stuff. I haven't decided if I should drop hints about DCC.

Thanks
Jeremy
 

Attachments

#2 ·
Well, I like #2 the best.

Problems I see with each.
#1- Not as much action.
Looks like you will raise the track to go over another track. Not a good idea on a 4X8.
It takes a lot of real estate to go up and over. And down again. Rise or decent should
not be over 1/4 inch per foot. Not enough room on a 4X8.
#2- Looks very nice but also does not look like it will fit on a 4X8. I do not know if you will be running 1 train or 2 or more trains. Looks like only 1 way to get from inner loop to outer loop. If train is running in wrong direction it will have to back up to change loops. Add 2 more turnouts facing different direction, so train can pass from one loop to another with out backing up.

Good luck.
 
#3 ·
hi Mopac.
I knew that I would have to make changes. I'll probably be running 2 trains. I don't know if you've used Scarm before but you can create a baseboard, in my case its 4x8 & I try to stay within the boundaries. I've been using lots of flex track in my designs, probably due to it being easy to use plus I wont have to buy large amounts of sectional track. I haven't worked to much in regards to structures, as I'm guessing experienced modelers would want the track part figured out. I realized on my 2nd design that another turnout in the opposite direction would be needed.

I'll make some more tweaks in the meantime.

Thanks
 
#4 ·
Hi Everyone.
This is the plan I've decided on building in HO scale. I was using the scarm software & Atlas track code 100. I bought most of everything yesterday afternoon but remote #4 turnouts left & right as they weren't in stock. I thought of going for Peco turnouts as an alternative, but I didn't know if they would be compatible or in stock. My brother mentioned about going back to the hobby shop in a couple weeks. I'll go online before the next shopping spree to check on things I need if they're in stock. I was thinking of going for manual turnouts, yet I'm guessing its more wires along with frustrating.
 

Attachments

#5 ·
I would strongly urge that you reconsider going
with manual turnouts. You have them all around
your layout and to use them you would have to
walk around the layout.

Wiring turnouts is a very simple chore. You will
want to have 3 color coded wires, red, green and
black. Black will be common and you would connect
each turnout to that. The red would go to the divert
terminal on the turnout, the green to the straight terminal.

You have a choice of either twin coil (such as Atlas)
or Stall motor such as Tortoise.

Make a simple plywood or plastic panel to hold the
needed controls.

I consider the Stapleton series the easiest to
wire and use for either the twin coil or stall motor.

http://www3.sympatico.ca/kstapleton3/751D.HTM

One advantage of the 751D for twin coil motors is that
it has built in CDU to protect coils from burnout.

You would need a power supply such as an old
DC power pack or a discorded wall wart with a DC
output of 12 to 20 volts to power the turnout motors.

Don
 
#6 ·
Hi DonR.
Thanks for the tip regarding manual turnouts. I guess I thought that with a switch machine to "make" the turnouts remote, it would solve the issue. I did think about turnouts on any layout, knowing the modeller would have to have them in the same direction, or face going around the track a 2nd time or off the track the 1st time. I'll make a new list of stuff to buy the next time I'm at the shop, & do some more research for wiring etc.

Jeremy
 
#8 ·
To add more about the Stapleton 751 series turnout controls...
each one will also control a panel or trackside LED
so you can see which way the points are set.

Note on Deedub's turnout control panel the simple
751 toggle switches. The 751 can be ordered for
twin coil or Stall motor turnout control.


Don
 
#9 · (Edited)
Hi Deedub.
I only bought 3 pieces of flex track yesterday, along with track listed on the parts list . I already had some track from my 00 train set & Atlas track I bought last year, so I just deducted from the scarm parts list. It sucks that Hobby Wholesale is pretty much the only shop in Edmonton for trains. I have a sister who lives in Calgary close to Trains & Such, I might see her at Christmas. I hope the turnouts I need will be in stock before the holidays as I thought of using wye turnouts or crossings to complete my layout, but then my layout might look strange.
 
#10 ·
A most ambitious track plan. I, too, would be a little cautious about having so many gradients, and gradients on curves in such a 4x8. Curves will naturally place a lateral strain on cars, and this effect is increased when the curve is on a hill. In other, words, you might spend more time re-railing stuff than running it- I speak from hard won experience.

On the other hand, if you're in the business of running fascinating Shays and Heislers and short rakes of short cars- ore cars, logging cars, you might get away this track plan, I would guess.

I might suggest not to be hasty to put in ballast, for once you glue the stuff in, your track is going to pretty hard, if neigh impossible, to reset or remove. My sense is that you will be needing to make some adjustments on the fly.

Only be an expert in my opinion, reliability of operation is essential to my enjoyment. In my experience, a simple track plan that runs good is a lot more interesting than a complex track plan that hardly runs at all. I've done both. :dunno:
 
#11 ·
I started gluing down the cork roadbed, I have a slight problem though but I have a solution too. I was connecting my HO track last night to determine how my roadbed I would need. I realized that the roadbed that I glued down doesn't line up with the track. Its about an inch off or so to the right of the glued roadbed. I took a picture, but my tech no how is at a loss at the moment. My solution is to run another strip of roadbed underneath the track that I currently have "pinned" in place, so my little mistake won't look so bad. I used Lepage Carpenter's Glue, & I'm not sure if its worth messing around with as the glue has cured.

Thanks
 
#17 ·
I started gluing down the cork...I used Lepage Carpenter's Glue, & I'm not sure if its worth messing around with as the glue has cured.

Thanks
Latex chalking works well to fasten the roadbed and track down. Easy to remove track as well.

Mark your track centre lines down using you track diagram, measuring tape, etc to transfer the design. Lay out your switches and ends of your curves first as they need to be in the correct location and orientation. Flex track has some flex so you can make up for some alignment issues.
 
#15 ·
I decided to pull out all the stops & work on a new 4x8 HO layout. I'm going to do a better job this time & mark out the track, so it won't look off center when its on the cork roadbed. I plan on reusing roadbed that I pulled up, but I don't know if I need to remove the old glue first by sanding or whatever. I've got new roadbed also.

Jeremy
 

Attachments

#16 ·
The layout is coming along nicely.

A few things you may want to consider on this latest design is to make the track at the lower right double track around the curve so you can run two trains at the same time.

Not sure if your design is final on the spur tracks or not but some of them are quite short and would only fit one railcar.

Also, note the radius of the inner curve at the top is quite a tight radius, and you will only be able to run shorter railcars and shorter 4-axle locos through it. If that is ok with you, don’t worry about it.

Hope that helps. Feel free to look at my layout for some design ideas. Though mine is slight larger.
 
#18 ·
Flex track was very easy to use when designing my layout. I didn't have to worry about this particular piece of track or that, making certain it was assembled where it was supposed to go, etc.

It gives a lot of leeway of how you want to design your layout.
 
#19 ·
I've got my track connected & I"m using rosin flux this time when soldering. I have added a set of power feed joiners, connecting the wires to a terminal block then to the transformer but I'm still having power issues. I've used a multimeter & checked a few spots for conductivity, & I"m getting 15 volts after I cranked up the power a little more. I'm leaning towards soldering every joint, replacing the terminal track, taking my entire layout apart properly this time, opening my transformer to see if anythings wrong inside. I wish skype was available here at the forum, then other members could view my layout then tell me to stop to "fix" something before moving onto the next part.

Thanks
 
#20 ·
I'm not understanding how you're having power issues with that layout. Are the turnouts you're using power routing? I didn't think so, but it would explain the difficulties. Other possibilities are dirty track or track that is pinched in the gauge. Assuming no dirt and all good connections, a single pair of AWG22 feeders would run that layout (I've done it).

What exactly are the symptoms of "power issues" that you're seeing?
 
#21 ·
Hi Ct.
I was having power issues right from the rerailer, or the engine I was running for testing purposes was only going a short distance. I disconnected all the wiring from the terminal block, then I finally started having success until the engine stopped at the Atlas code 100 HO turnout. I decided to replace the turnout with a 9" piece of sectional track. I haven't finished making the necessary repairs, but I'll let you know of my success.
Thanks
 
#22 ·
"Power issues" as in "there isn't any electricity reaching the motor in my locomotive, so it stalled"?

First of all, do you have a "known good" loco? Could it be that your loco has a loose connection or dirty wheels / wipers?

Where is the rerailer with respect to your power feed? If the problem isn't in your loco, then you may either be creating shorts at your terminal strip, or connecting feeders in opposing polarity (iow, not all the ones connected to the same rail have the same polarity). This would be the most common cause of multiple feeders not improving power flow.

Try this: find a pair of test leads with alligator clips. Remove all your feeders but one pair and run your loco, starting right at the feeders. If it stalls, use the test leads to jumper power from the track segment that the train just left to the segment on which it stalled. If it starts up again, you have a connectivity issue. If not, check the track gauge at that spot and the cleanliness of both the track and the locomotive wheels and pickups.

Once you can run the loco successfully like this, having eliminated all the problems you found, then add a second set of feeders. Retest. If it doesn't run right, check your terminal strip for shorts or bad connections and check the polarity and correct until everything works right again. Add another set of feeders and repeat. Keep going like this until you have all the feeders you want or need.
 
#23 ·
Hello CT.
I just figured out one of my power issues, as closer inspection of the used sd40 I bought this past summer shows a disconnected wire & perhaps poor soldering by the previous owner(s). I did have good luck this morning running a new Athearn sw1500, which ran around my layout without a hitch forward & reverse. I used a pair of wires from the terminal track to my power supply for this test. I have a retailer next to the terminal track on my layout. My locos that are giving me grief are my OO loco, my brothers HO 0-6-0 & the used Athearn sd40.

I hope my photos are good and clear for all to see,& I hope I’ve clarified things for you.
Thanks
 

Attachments

#24 ·
So you didn't have a "known good" loco to start with. That's why you should always troubleshoot one step at a time, eliminating the gross and obvious possibilities first.
 
#25 ·
Hello CT.
The sw1500 engine is the best loco I have. I think I just grabbed any locomotive when I was about to test my track for perfection. My OO train runs great when I tested it using alligator clips. The sd40 purchased used also runs, just that its rough sounding going around my layout even after I oiled the gears between the wheels. I used test leads on the sd40 & it purrs like a kitten, so I think I’ll really clean it up.
Thanks